How To Make a Collage
Pieced Paper Collage – Mixed Media
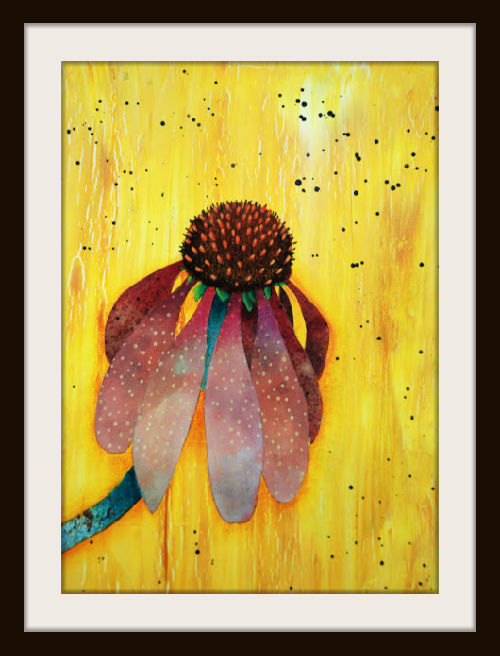
Here’s how to make a collage. To be more specific, a pieced paper collage. But wait! What is a collage anyway?
Collage is a French word which relates to gluing things in place to create a work of art. Those things can be papers, photographs and other lightweight items that can be glued down to a substrate like a canvas, watercolor paper, wood and so on.
Collage compositions can be thought of as a way of painting images without using a paintbrush to render an image we want to create. This can result in abstract compositions or highly realistic ones.
A Fascination with Paper
I have a fascination with paper, and I tend to collect lots of it. From old vintage letters I find in rummage sales to commercial scrapbooking papers, they are all entertaining to me.
And when I discovered I could “paint” with paper I got really excited. I had to learn how to make a collage for myself. And I did that quite a few years ago. And I still love doing it today.
I decided I wanted to share this fun way of making art with you.
Enjoy this short tutorial and learn how to make a collage. By piecing papers together like a jigsaw puzzle, you can learn to create some amazing works of art. But to do amazing things, first we must start on a small scale and get a feel for how it all gets put together.
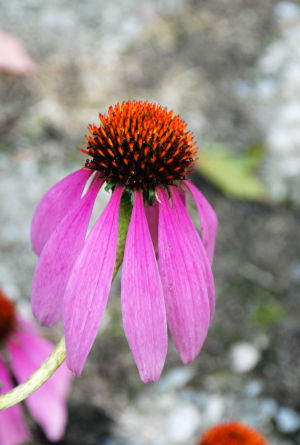
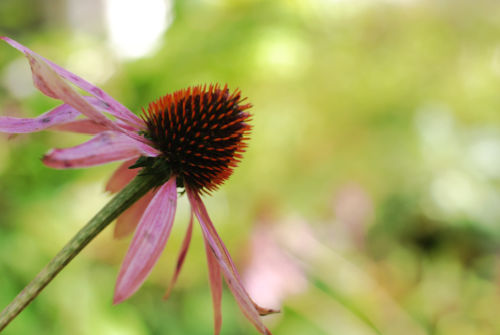
Ideally you can work from your own photographs but for this tutorial I am providing you with the line drawings based on my hubby's photos of these Purple Cone Flowers. The line drawings will ensure you have a good experience right out of the gate.
In the future, you can pick photos from your own collection and do your own things. All I want to do here is give you the very basics to get you started.
Let’s have some fun and learn how to make a collage.
Gather Your Supplies
8 x 10 canvas or canvas board
assorted scrapbooking papers
Mod Podge (matte)
old paint brushes
water basin
paper towel
scissors
small cuticle scissors (optional)
assorted acrylic paints
soft white eraser
graphite paper (white and grey)
tracing paper
Permanent extra fine point marker
Get the line drawings here
Step-by-Step Instructions
Learn How to Make a Collage
STEP 1: Download the line drawing. You can download two different line drawings to get you started. Just click here and you'll be all set to go!
STEP 2: Paint your
background in colors of your choice.
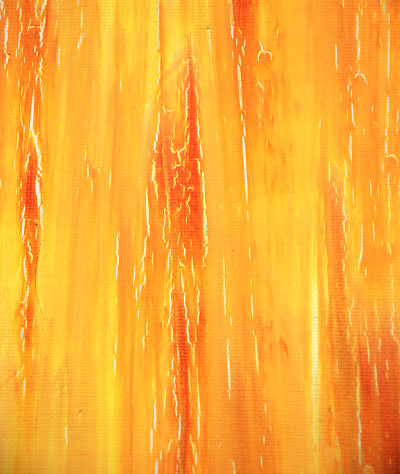
In this sample I prepared the canvas
surface with a thick coat of white gesso.
While it was wet, I used some fluid acrylic (Indian Yellow Hue) which I dragged across the surface using the back of a palette knife.
A happy accident occurred while the surface was drying under the heat of the hairdryer. The paint crackled and crazed. I loved the look, so I went with it.
When you scroll further down you will see other background ideas. You can paint or prepare your background any way you like. Learning how to make a collage is supposed to be fun so go for it!
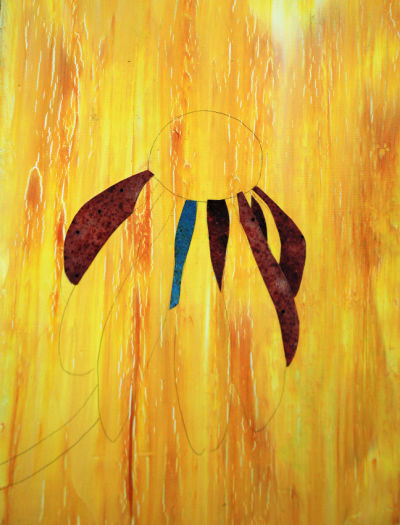
STEP 3: Trace and transfer the line drawing.
Place your tracing paper over one of the line drawings and trace it out
with a fine tip permanent marker.
Then position the tracing on your canvas and transfer it lightly using the graphite paper and a stylus or empty ball point pen. If the graphite lines are very dark, erase them so they are just faint but still visible.
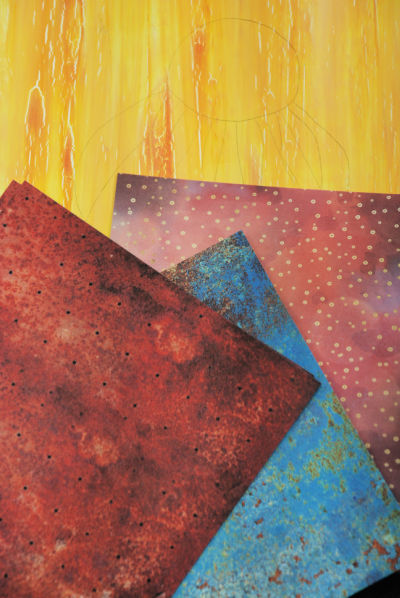
STEP 4: Select the papers you will use.
Choose some papers that you like which suit your background color. I chose a couple of colors for the petals and
another for the stem.
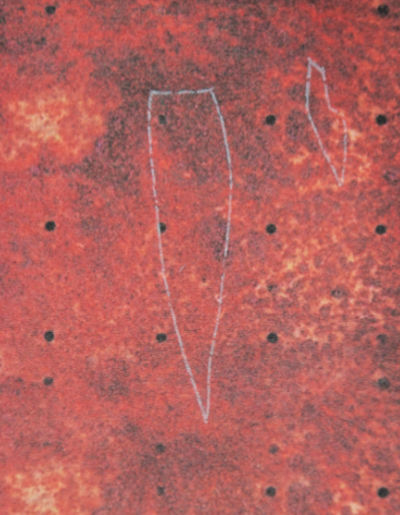
STEP 5: Trace and cut out the pieces.
Work one piece at a time.
The pattern pieces are numbered and should be traced out and cut in that
order. Use the tracing and place shape
#1 over your chosen paper in an area of the paper you think would work. For the first 2 petals, I selected a dark area of the paper to
suggest shading because those petals are furthest back from the others.
In this image you can see I used white graphite. I will cut these out and then with my eraser, remove any visible graphite lines.
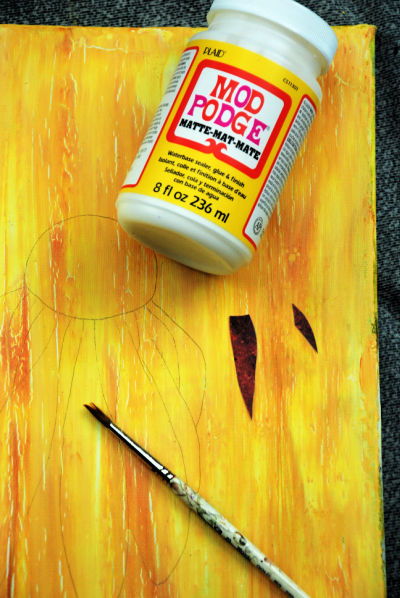
Then I’ll use an old brush and some Mod Podge to glue the pieces in their respective places.
NOTE: To create a successful pieced collage, it’s best to work from the furthest area first and make your way to the foreground. In time you will be able to do this without the numbered pieces. You will get a feel for it.
When you’re tracing out the pieces to be cut, trace just outside the lines a little. This will allow you some “wiggle room” should you need to make some positioning adjustments.
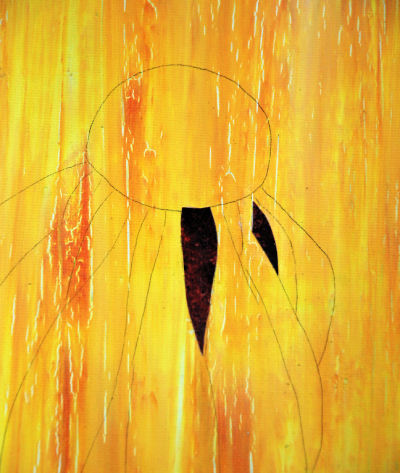
STEP 6: Use an old
brush and Mod Podge to glue pieces in place.
Apply a coat of Mod Podge to section #1 and a little to the back of the cut
piece. Place the cut piece down into the
wet medium, sliding it in place and adjusting while things are wet. Use more Mod Podge on top of the cut piece. Do the same for piece #2.
Continue cutting and pasting the pieces in place.
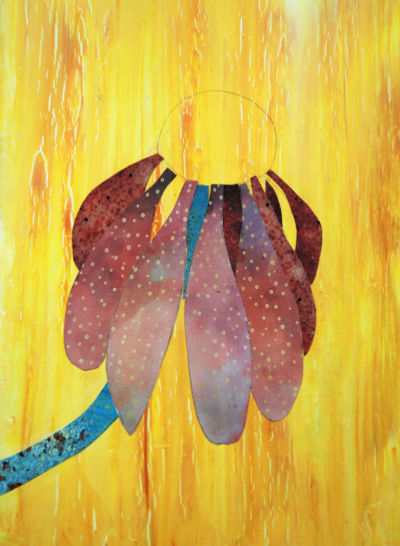
At this stage you should have all the petals and the stem in place.
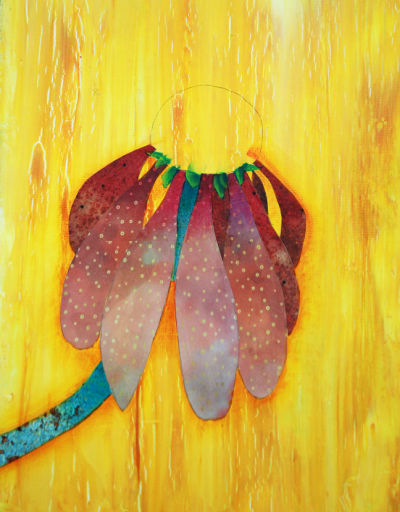
STEP 8: Trace on the small sepals at the base of the
calyx.
Basecoat the sepals using acrylic paint in a green of your choice. When dry, shade with a dark green and
highlight them with a lighter green.
Here you'll notice I've begun to add a bit of Indian Yellow Hue around the petals on the background.

STEP 9: Stipple
the flower center.
With DecoArt acrylic paint, I stippled in the flower center with Burnt Sienna and a little Burnt Umber
on a ¼-inch Deerfoot brush.
At this stage I also floated some tints at the base of the petals with Calico Red. And I added a bit of shading on the stem with Mermaid Tail.
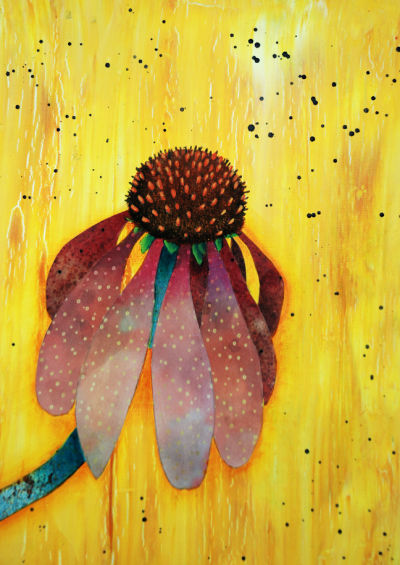
Step 10: Trace on
the seeds and spatter background.
After tracing on the seeds, use a Liner brush and an orange color like Pumpkin
to paint the seeds.
To embellish the background, spatter some thinned Black and/or White onto the background. Be sure to protect the flower from getting spattered.
When everything is dry, sign your work and varnish it!
More examples...
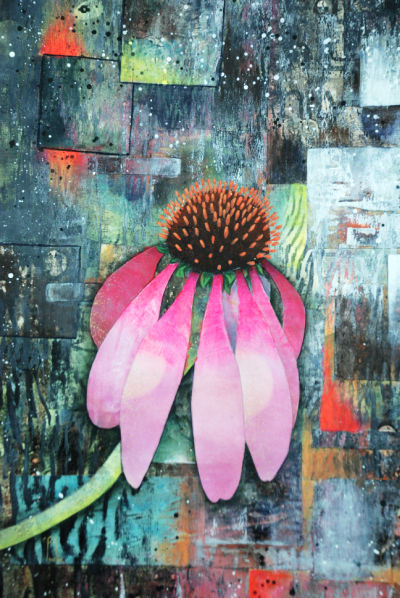
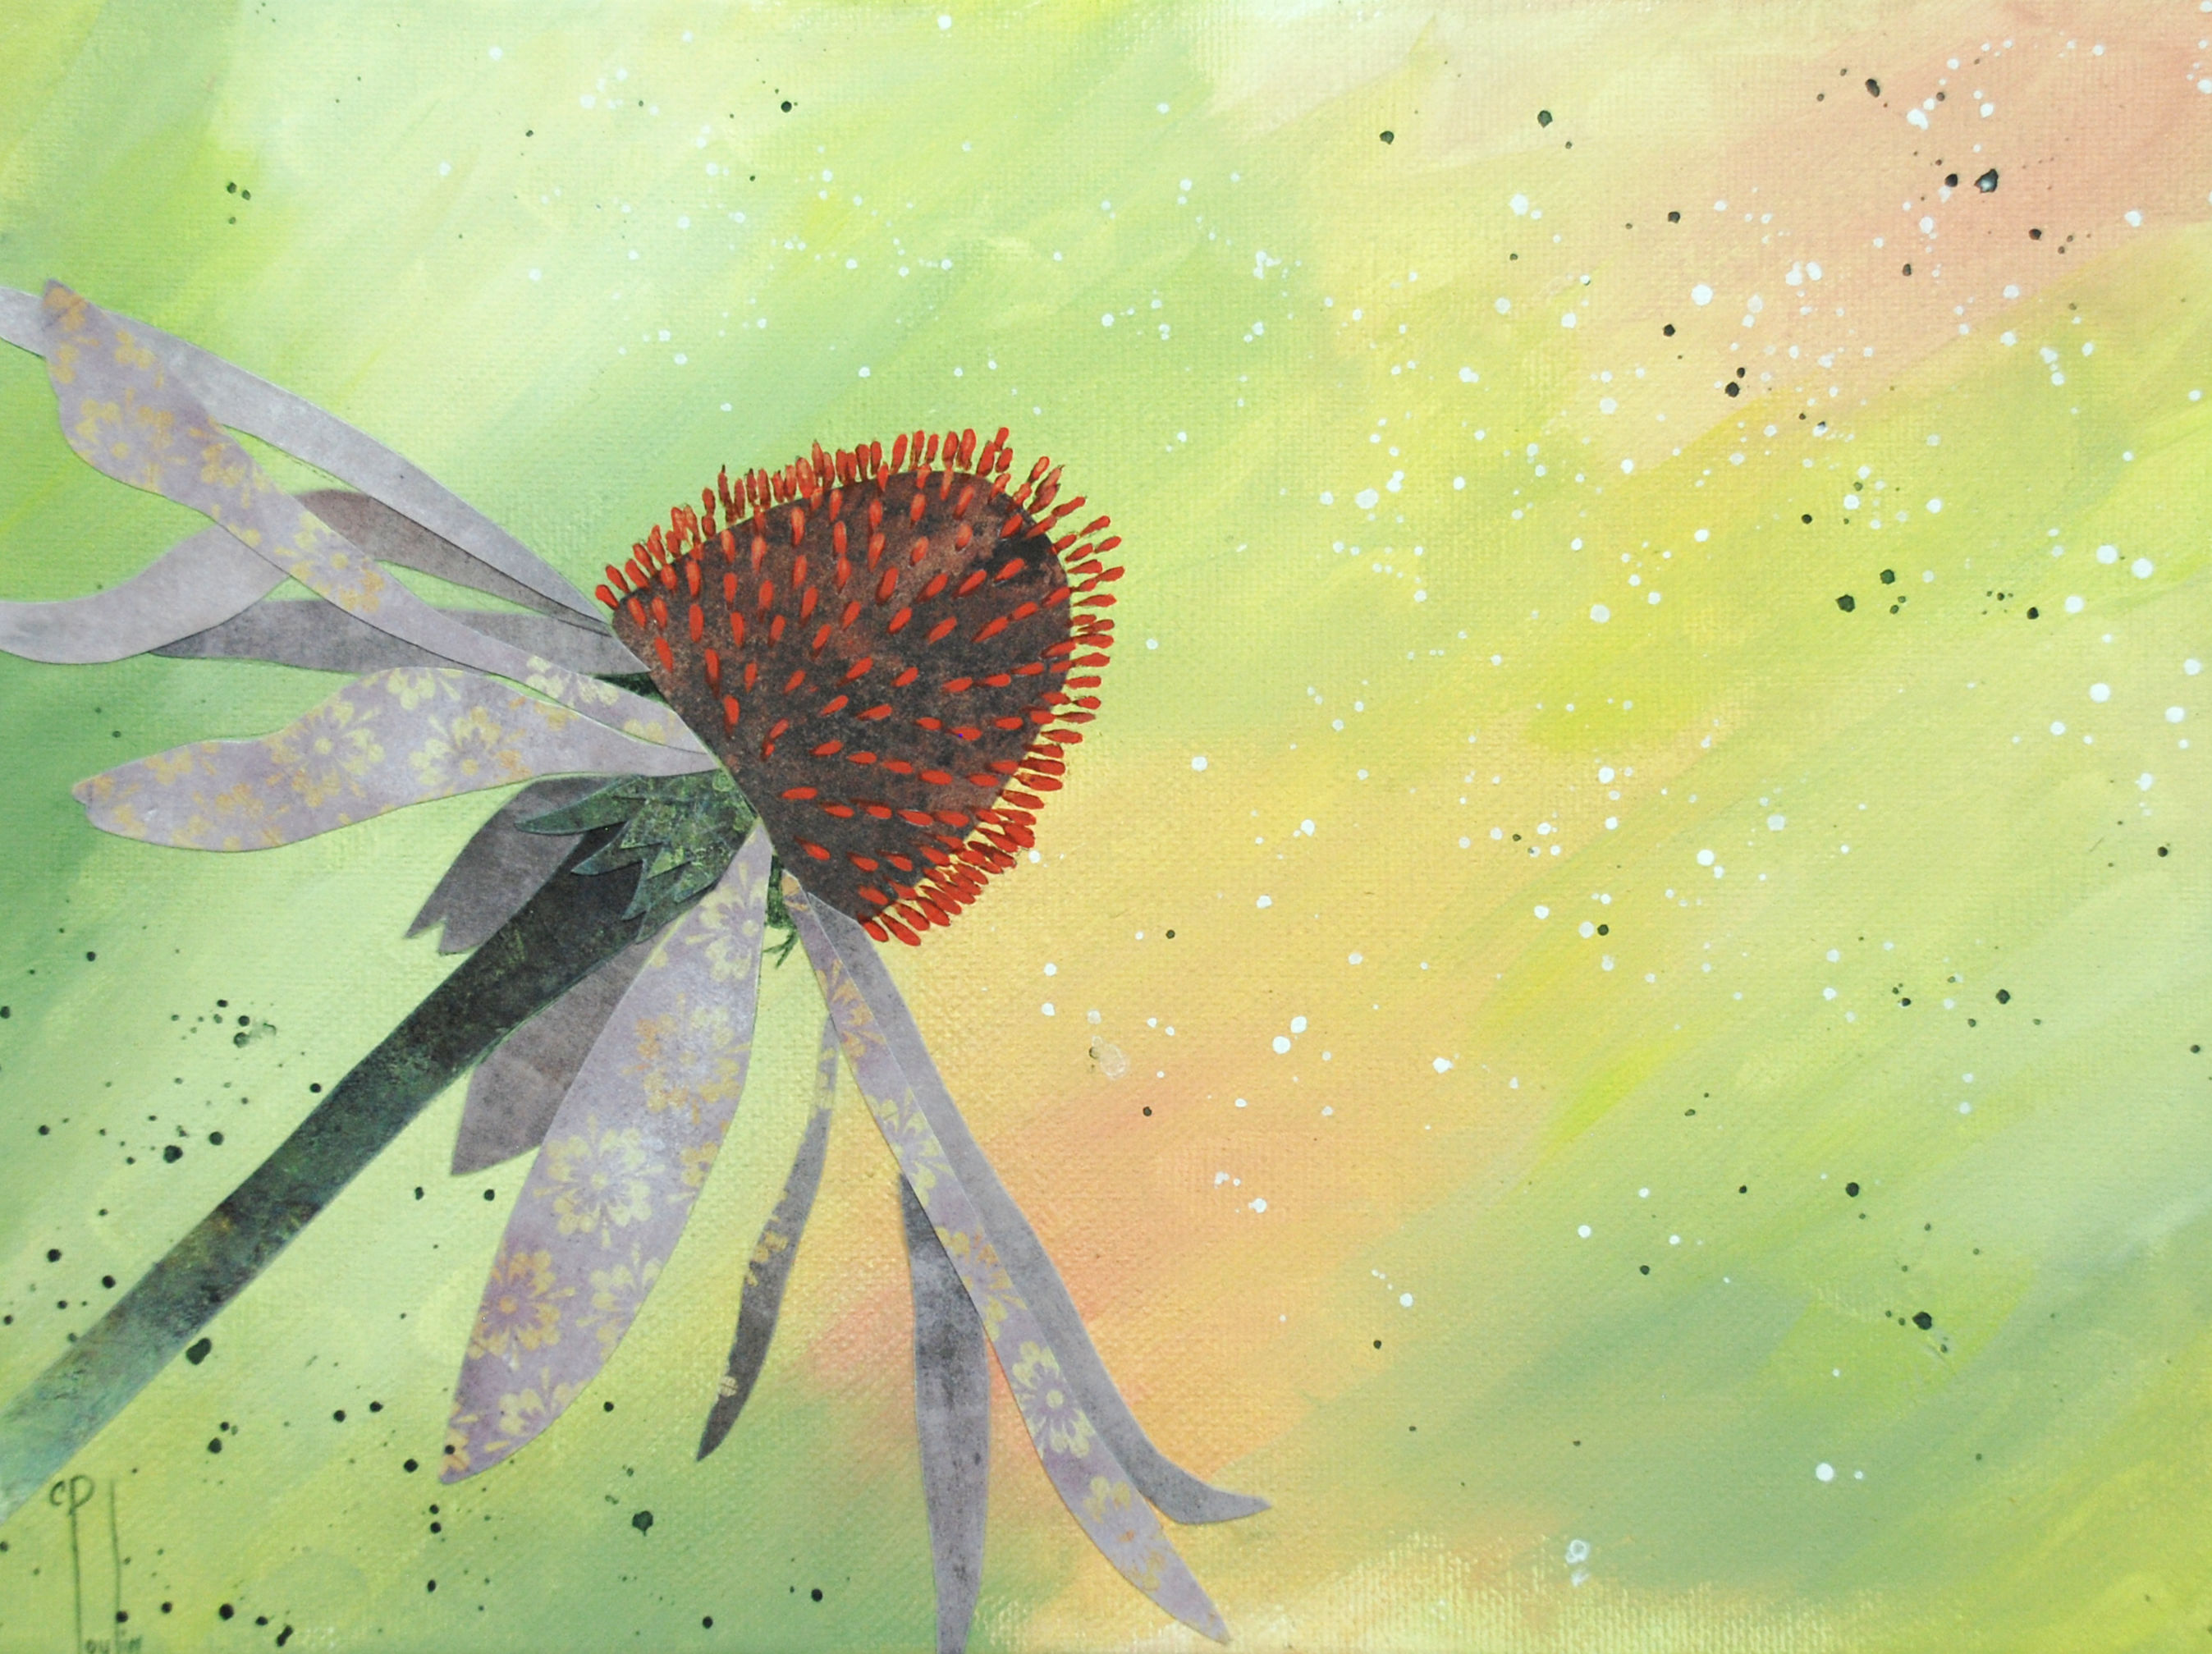
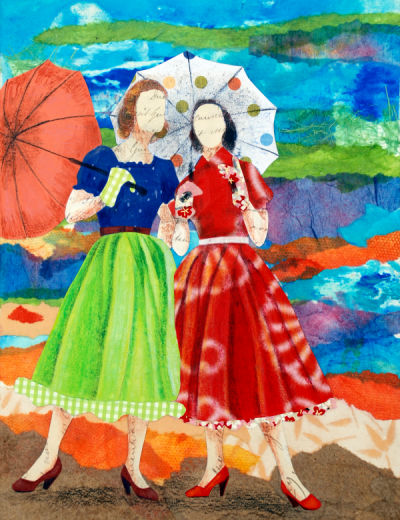
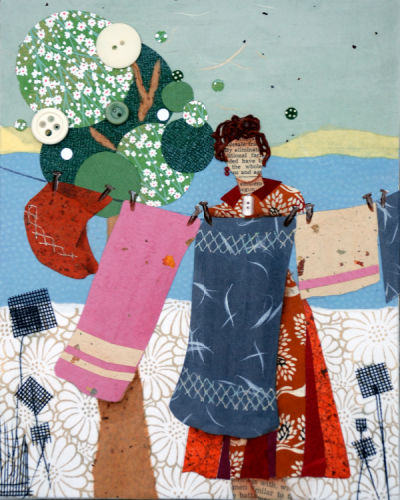
As you can see, the sky is the limit! And now you know how to make a collage.
Well that's it for how to make a collage so let's go back to the HOME page.
Introducing... Earmark Creative Studio

You Can Paint These Trees and More

Get Your Video Course Now
Introductory Price
Save 30% plus
a Money Back Guarantee


You Can Paint These Trees and More
Get Your Video Course Now
Introductory Price
Save 30% plus
a Money Back Guarantee
Recent Articles
-
Earmark decorative painting studio in Ottawa! A cozy place to paint.
May 02, 26 03:28 PM
 Earmark decorative painting studio is a very comfortable and relaxing studio and classroom catering to all painting levels.Located in rural, scenic Ottawa.
 -
CBP0012 Funky Winter Chicken
Apr 14, 26 03:18 PM
 You'll get your funky dance on with my Funky Winter Chicken e-Pattern Packet. Detailed step-by-step instructions, line drawings, pictures and materials ensure your success with this project.
 -
CBP0045 Stained Glass Coasters Pattern Packet
Apr 14, 26 03:16 PM
 This faux Stained Glass Coasters Pattern Packet will provide you with hours of fun creating and using these coasters.
 -
CBP0005-Daisies at Dusk
Apr 14, 26 03:06 PM
 We all love daisies and you will love painting Daisies at Dusk. This decorative painting e-packet also known as a tole painting e-pattern has detailed step-by-step instructions, lots of pictures, mate…
 -
CBP0004-Get-Crackin
Apr 14, 26 03:03 PM
 Here's Get-Crackin, an advanced, trompe loeil pattern packet. You will love the results you get. Detailed step-by-step instructions and lots of pictures.
 -
CBP0002-hey-tiger
Apr 14, 26 02:57 PM
 CBP0002-hey-tiger is a beautiful Eastern Tiger Swallowtail butterfly
 -
CBP0028-High Realism Poppy Pattern Packet
Apr 14, 26 02:49 PM
 Enjoy CBP0028-High Realism Poppy Packet. This project is guaranteed to please. Settle into a quiet place, add layers and watch this poppy come alive.


Site Search
| site search by freefind | advanced |


You Can Paint These Trees and More
Get Your Video Course Now
Introductory Price
Save 30% plus
a Money Back Guarantee