BLACKBOARD PAINT
A Busy Kitchen Gets
a Much Needed Message Center!
I just couldn't resist the idea of applying blackboard paint to a part of my kitchen. As if I need another DIY project!!!
My husband and I are forever losing our "Honey Do" lists and I felt if we could have a central message center it would solve our problem.
I didn't want to add a communication station to an already cluttered counter top so I had to look at my walls...it was a vertical solution I needed.


And there it was, the perfect spot. The kitchen entrance where the wall is visible when you go in and out and also seen from the entertainment room on the way to the loo!
But what was I facing with this project? Did I want to consider a cork covered surface, a magnetic wall or a chic blackboard wall like they have in the downtown bistros? I'll give you one guess!
I decided a blackboard wall would be decorative and functional.
But what was I getting into? Was it simply rolling on blackboard paint?
Well, apparently in a nutshell, NO. Preparation will be key.
Uh-oh!
Preparing the Wall for Blackboard Paint

You'll need to fill any nail holes, scratches, dents and pock marks. I used Polyfilla to fix the wall. Let this dry and then sand smooth using a medium grit sanding sponge or sandpaper.
Look closely and you'll likely see that the nail holes and imperfections may need another application. Do so. Let dry and sand again.
Now sand the whole wall where you'll be applying the paint. For me that's an area about 4-feet high by 3-feet wide.
As you sand you'll likely notice other small imperfections - fill them too. Repeat this bicep-building exercise until the wall is as smooth as you can make it. Expect to sweat!
With a damp cloth wipe the wall down to remove all dusty residue.
Do I Need to Prime the Wall?
Yes, priming is not negotiable!
HERE'S A LIST OF WHAT YOU'LL NEED
TO COMPLETE A SIMILAR PROJECT
* Polyfilla
* putty knife
* medium grit sandpaper
* damp cloth
* latex primer
* chalkboard paint, I chose Rust-Oleum brand
* stir stick
* paint tray
* a really good 2-1/2 inch synthetic paint brush for cutting into corners
* a synthetic roller with 1/4 inch nap
* newspaper
* drop sheet
* paper towel
* painter's tape
* smock
* sense of adventure
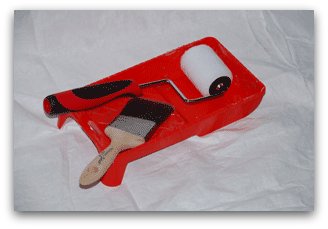
Because I'm working on a small area, I chose a small roller and paint tray. Obviously if you're going to do a large area, choose a large roller and tray.
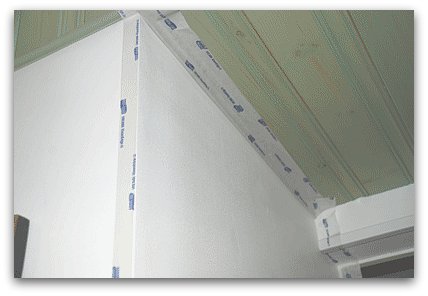
Once your wall is sanded and prepared you need painter's tape to mask off adjoining walls and ceiling.
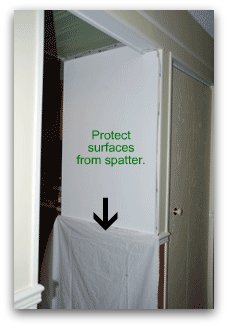
I have wainscoting around the kitchen, so the drop cloth was draped over it and allowed to cover part of the floor as well.
Stir the paint thoroughly and pour some into the tray.
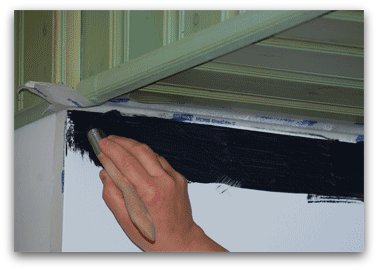
Using the paint brush, cut in around the perimeter of the wall and ceiling.
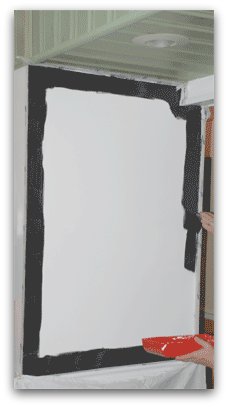
This is so exciting. The next step is to roll on the blackboard paint.

Here I started by rolling on a big "W" and then I just rolled straight up and down to cover the entire wall.
Don't over stroke or over roll too much.
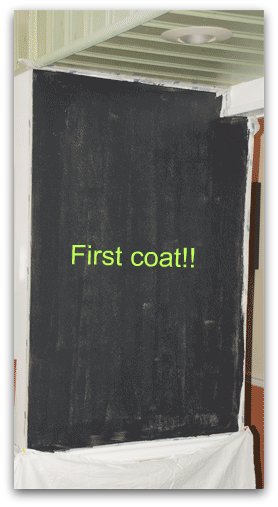
This is the first coat!
A second coat is definitely needed. I have to wait 4 hours before proceeding.
3 Coats of Blackboard Paint Later...
It's time to jazz things up a little!
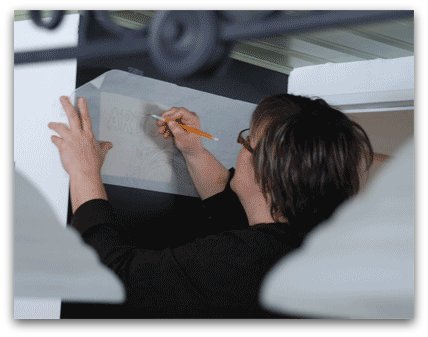
I'm transferring some lettering and a drawing to the blackboard. See the pattern packet that inspired this idea.
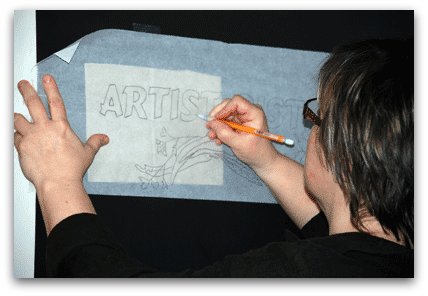
I couldn't decide if I wanted a cafe, or a bistro sign so I combined the two words for fun!
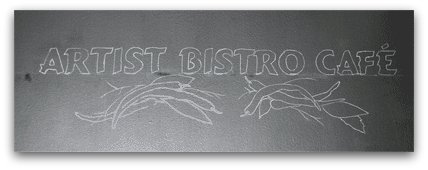
I did the lettering and drawing on tracing paper and then transferred the design by sandwiching a sheet of white graphite between the tracing and the wall.
I'm itching to get painting!

First I basecoated the letters and the peppers with a Buttermilk color.

Then I began painting the leaves in a warm green. I then did some shading and highlighting to bring them alive.
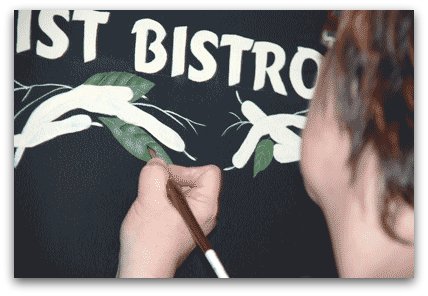

Painting on blackboard paint is great. Lots of tooth, and some light texture to help me create some nice dry-brushing effects.
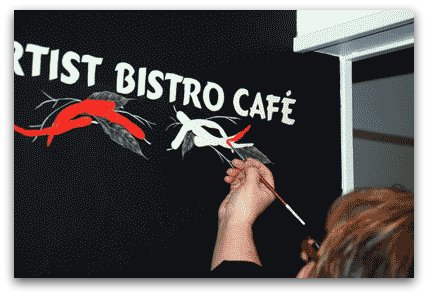
A rich, warm red was used for the peppers. And then some shading and highlighting to bring them to life.


And to finish the painting I added the parsley and the pepper stems.
Ta da!!!

The next step is to add a border and to finish the lettering. Stay tuned!

If you like the cayenne peppers, basil and parsley design, here's where you can purchase the pattern packet. It was originally done on a large metal bowl but can be adapted to any surface.
If you have any questions, feel free to contact me.
For more creative ideas and things to do, sign up for my free newsletter which comes out bi-weekly. Subscribe to The Creative Chronicles today!
Here's how to get back to the HOME page.
You Can Paint These Trees and More

Get Your Video Course Now
Introductory Price
Save 30% plus
a Money Back Guarantee


You Can Paint These Trees and More
Get Your Video Course Now
Introductory Price
Save 30% plus
a Money Back Guarantee
Recent Articles
-
Earmark decorative painting studio in Ottawa! A cozy place to paint.
May 02, 26 03:28 PM
 Earmark decorative painting studio is a very comfortable and relaxing studio and classroom catering to all painting levels.Located in rural, scenic Ottawa.
 -
CBP0012 Funky Winter Chicken
Apr 14, 26 03:18 PM
 You'll get your funky dance on with my Funky Winter Chicken e-Pattern Packet. Detailed step-by-step instructions, line drawings, pictures and materials ensure your success with this project.
 -
CBP0045 Stained Glass Coasters Pattern Packet
Apr 14, 26 03:16 PM
 This faux Stained Glass Coasters Pattern Packet will provide you with hours of fun creating and using these coasters.
 -
CBP0005-Daisies at Dusk
Apr 14, 26 03:06 PM
 We all love daisies and you will love painting Daisies at Dusk. This decorative painting e-packet also known as a tole painting e-pattern has detailed step-by-step instructions, lots of pictures, mate…
 -
CBP0004-Get-Crackin
Apr 14, 26 03:03 PM
 Here's Get-Crackin, an advanced, trompe loeil pattern packet. You will love the results you get. Detailed step-by-step instructions and lots of pictures.
 -
CBP0002-hey-tiger
Apr 14, 26 02:57 PM
 CBP0002-hey-tiger is a beautiful Eastern Tiger Swallowtail butterfly
 -
CBP0028-High Realism Poppy Pattern Packet
Apr 14, 26 02:49 PM
 Enjoy CBP0028-High Realism Poppy Packet. This project is guaranteed to please. Settle into a quiet place, add layers and watch this poppy come alive.


Site Search
| site search by freefind | advanced |


You Can Paint These Trees and More
Get Your Video Course Now
Introductory Price
Save 30% plus
a Money Back Guarantee