Hand Painted Silk Scarves
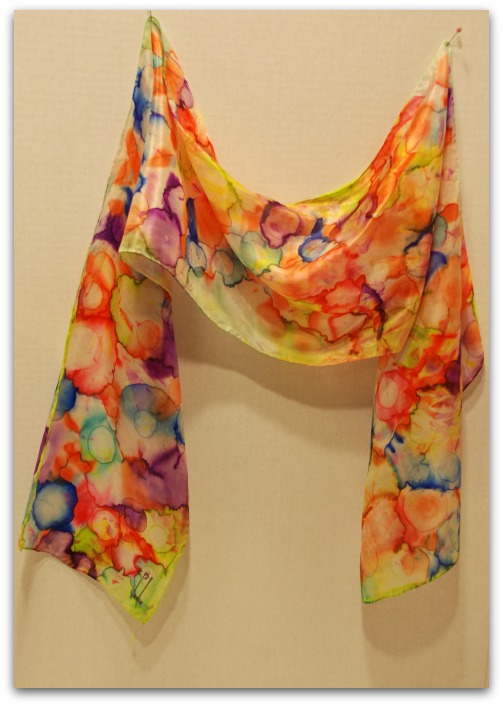
Hand painted silk scarves are a blast to paint using Sharpie ® Permanent Markers.
The results never turn out the same and there are always elements of surprise. Gotta love surprises!
Here's what you'll need:
Silk scarves, 54" x 8"
Set of Sharpie ® Chisel Point Permanent Markers
Sharpie Rub-a-Dub ® Laundry marker (optional)
Green Painter's Tape
Isopropyl Alcohol
Spray bottle
Pipette or eye dropper
White vinegar
Glass or plastic container
Measuring cup
Iron
Cotton or linen tea towel
Freezer paper
Embroidery hoop (optional)
Before beginning this project, carefully remove the tag / label from the scarves.
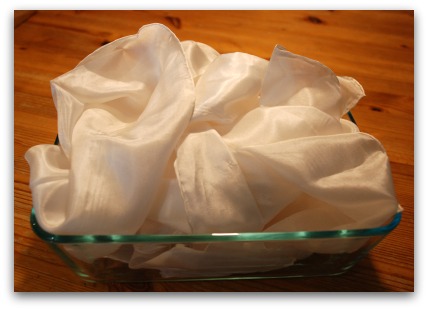 Habotai silk scarves
I like to prepare a number of silk scarves so I can have an entire day of painting fun.
Here I have 5 habotai silk scarves. They are 54-inches long by 8-inches
wide. The scarves can be purchased from
Dharma Trading Co.
Let's have some fun...
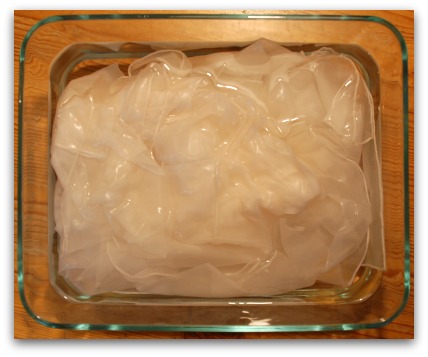 Soak scarves in vinegar and water solution.
Soak the scarves in 2 parts water + 1 part vinegar. Here I have 4 cups water and 2 cups white vinegar in a glass dish. Keep this vinegar bath, you'll need it again in a later step.
Leave the scarves submerged for at least 15 minutes.
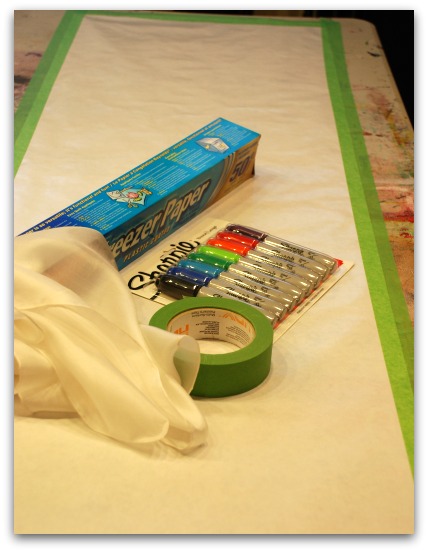 Tape freezer paper to table top.
Meanwhile, use the painter's tape to secure a length of freezer paper to a table long enough to accommodate the length of your scarf.
 Iron damp scarf.
Remove the scarves from the bath. Wring out as much moisture as possible.
Set up the ironing board, and adjust the iron to the "silk" setting. Place a smooth tea towel down on the ironing board.
While damp, iron the scarves smooth. Drape them over a hanger until ready to use. The scarves should be 100% dry.
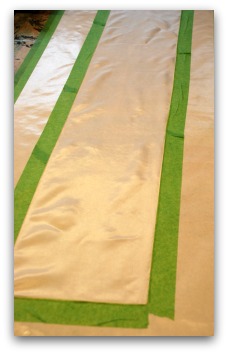 Tape scarf to freezer paper.
Tape a silk scarf onto the freezer paper. Start at a short end covering about 1/8th of an inch of the hem. Then tape down the other end. Then do the long sides.
Make the fabric as smooth as possible. As you can see, there may still be areas that are not perfectly flat. No worries.
READY TO DO SOME HAND PAINTED SILK SCARVES?
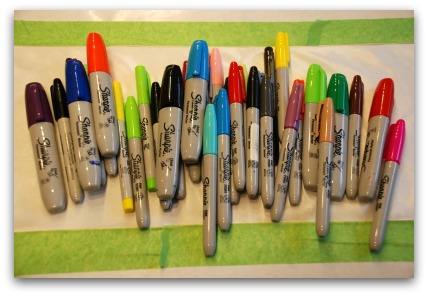
Here I have an assortment of Sharpie ® Permanent Markers. The fat ones have a wide chisel edge. I also use fine tip Sharpies as well.
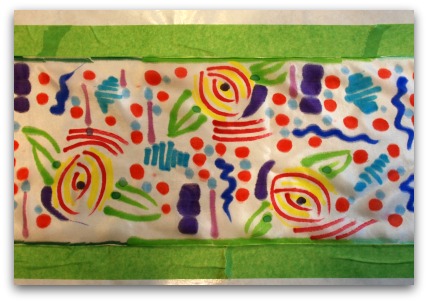
Use the Sharpies ® to make marks all over. Do not get married to your design. Just block in some colors and shapes. Things are about to get exciting.
NOTE:
The color Black is very permanent and may not perform well for this
technique. If this is your first scarf, I recommend you don't use it.
OK!!! I hope you love to give up control! If not, you're about to experience something very liberating!
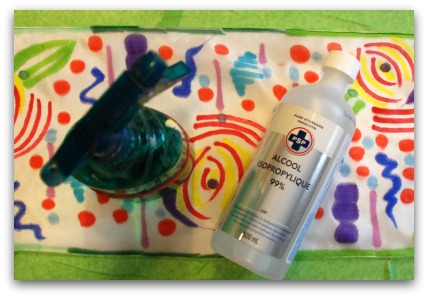
Fill a spray bottle with the rubbing alcohol.
REMOVE THE TAPE AROUND THE SCARF.
Saturate the scarf with sprays of alcohol. Be generous.
PLEASE BE CAREFUL, THE ALCOHOL IS FLAMMABLE.
Now walk away.
Just walk away. Take your pets
and children with you. Why?
1. The fumes may be irritating.
2. I don't want you messing around while the chemistry is doing its thing.
Just go make tea and enjoy a 20 minute break... or go fold towels or something!
20 minutes are up!
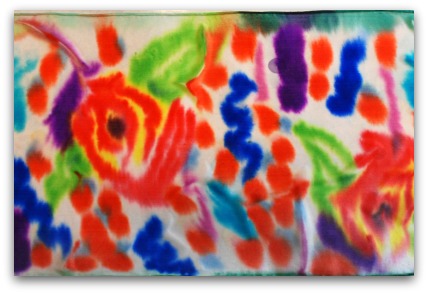
Look at that!! The colors blended and dispersed. Cool!!!!
OK, now you can let out the control freak!
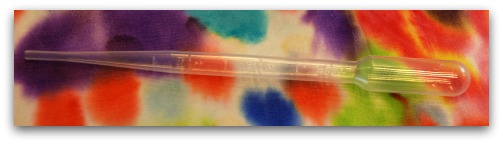
Fill a pipette or eye dropper with rubbing alcohol.
Randomly add drops of alcohol or choose exactly where you want to add the drops. Up to you.
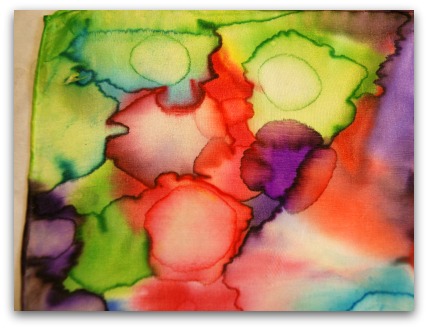
Do just a few drops at first
allowing droplets to dry before adding more alcohol. The colors will disperse more and more. It's so pretty to watch!
When you love the look, stop. Simple. Allow the scarf to dry completely.
Now it's time to set the colors.
Gently dip the scarf into the vinegar bath.
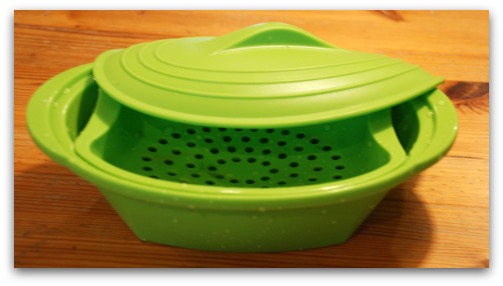
Place the wet scarf into the steamer filled with 1/2 cup water. Nuke for 1 minute. The scarf should come out steaming.
Be sure there is water in the steamer otherwise you could scorch your painted silk scarf!!
Carefully place the steamer and scarf under cold running water. Gently squeeze the water out of the scarf.
Use mild soap and cold water to gently wash the scarf. Rinse thoroughly in cold water.
While damp, use the iron on the silk setting to press smoothly on the tea towel and to further heat set.
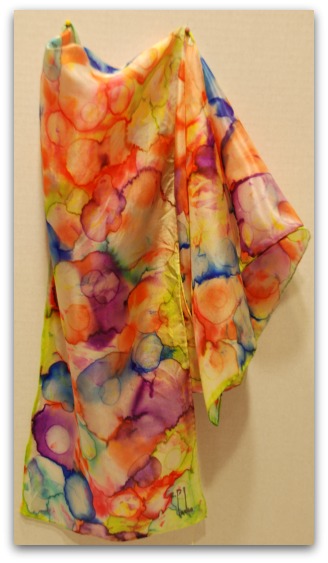
Isn't that so pretty? Look closely on the bottom right hand corner of the scarf... my signature.
To sign your work, use a Sharpie Rub-a-Dub ® Laundry marker. Work quickly because the ink from the marker may spread.
It's easier to sign your work if you use an embroidery hoop to keep the fabric taught.
That's how you can do simple hand painted silk scarves!!
Caring for hand painted silk scarves.
Wash gently in cold water by hand using mild soap. Rinse. Iron smooth on an
old tea towel using the silk setting.
So that's it for the hand painted silk scarves tutorial.
Listed below are some of the items I used for this project. They are links to Amazon placed here for your convenience. If you buy any of these products by following the links, I do get a tiny commission. I'm guessing you may already have most of this stuff. But in the event you don't...
Let's go from the hand painted silk scarves page back to the Techniques page.
You Can Paint These Trees and More

Get Your Video Course Now
Introductory Price
Save 55% plus
a Money Back Guarantee


You Can Paint These Trees and More
Get Your Video Course Now
Introductory Price
Save 55% plus
a Money Back Guarantee
Recent Articles
-
Preserving artwork
Apr 18, 24 03:38 PM
Cheryl, Is it necessary to spray artwork with an acrylic spray if I use a quality canvas listed as “archival”? Cheryl, are you still writing newsletters? -
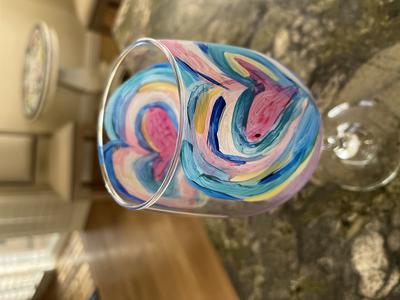
Can you paint more after setting in oven?
Feb 16, 24 06:36 AM
 Hi there I had taken a class and painted a wine glass, then set the paint in the oven. Can I add more paint or designs and re-sent again in the oven?
 -
gallery glass
Dec 11, 23 07:44 AM
Can Gallery Glass be restored if it has thickened? -
gallery glass
Sep 19, 23 07:44 AM
Can Gallery Glass be restored if it has thickened? -
Looking to commission an artist to paint a milk churn for me!
Sep 19, 23 07:43 AM
Greetings I am looking to commission a recognized artist in this field do you or someone you could recommend my name is Lesley Kelly Cell 403 512 8911 -
GLAZE FINISH - what is available now?
Sep 19, 23 07:42 AM
As you said, Delta PermEnamels are discontinued. I would finish off fixing my ceramic vintage pieces with their glaze (either clear gloss or satin). -
Glass Paint Temperature Considerations?
May 15, 22 11:10 AM
I’m wondering how durable glass paint/faux leading is giving shifting temperatures? Or, if some glass paint brands are better for this than others? For
Site Search
| site search by freefind | advanced |


You Can Paint These Trees and More
Get Your Video Course Now
Introductory Price
Save 55% plus
a Money Back Guarantee
New! Comments
Have your say about what you just read! Leave me a comment in the box below.